Let’s face it, for many of us spring cleaning is a pipe dream. For those who do tackle this seasonal tradition, most will fall short of their own expectations. But don’t throw in the (dirty) towel this year! Here are 10 tips to successfully improve your home’s interior — relatively painlessly. Even if you fall short of all 10, allow yourself to feel some sense of accomplishment and enjoy the rewards of your effort!
1. Take Pictures.
A picture is worth a thousand words and can help you envision a thousand tasks. By taking a picture of each room in your house from different angles, you can study your spring cleaning project using a different lens, literally and figuratively. Try to be as objective as possible – think of yourself as a home magazine editor and assign yourself tasks of what needs to be done to make each room more inviting.
2. Make a List.
Prioritize by importance. Use this list as a starting point, but only you know what needs to be done in your own home.
3. Space It Out.
Spring cleaning doesn’t have to involve one day or one weekend. Nor does it have to wait until the first day of spring. Divide your list into easily-digestible chunks and mark your open calendar days with these tasks. For example, you could tackle one room at a time, one day at a time for systematic, achievable goals.
4. Gather Your Tools.
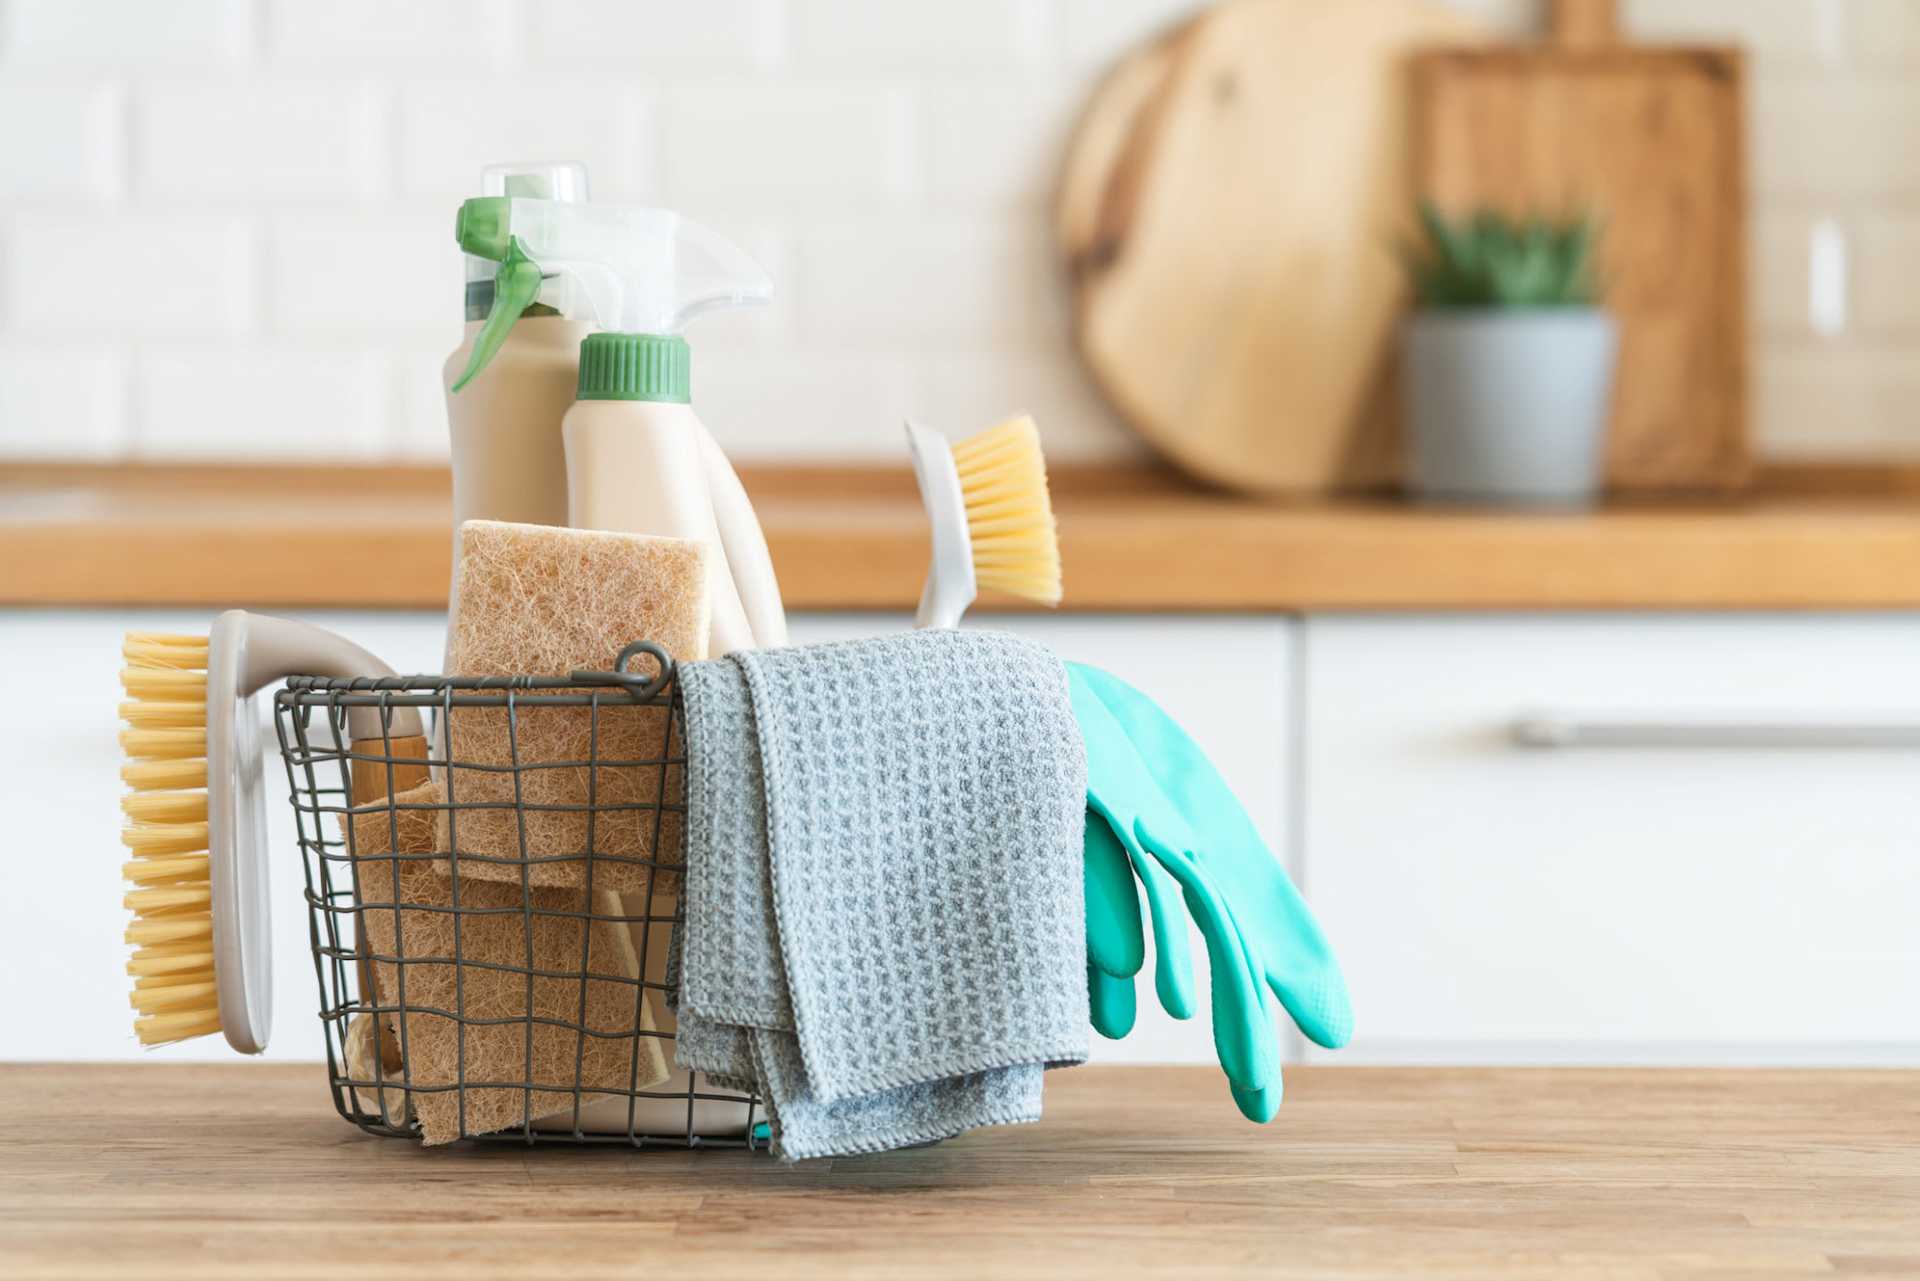
It’s too easy to give up if you don’t have what you need to complete a task. Avoid this bottleneck by gathering up supplies and shopping ahead for things you are missing. Here are some of the essentials:- Plastic gloves
- Paper towels
- Dusting mitt
- Cleaning caddy
- Mop
- Broom
- Bucket
- Garbage bags
- Bins of varying sizes
- Labels and markers
- Sponges
- Vacuum cleaner
- Your favorite cleansers for different surfaces
- Dust spray
- Wood cleaner
- Oven cleaner
- Glass cleaner
- Toilet bowl cleaner
- Polishes
- Cooktop cleaner
5. Label It.
There’s something satisfying about feeling organized, even if it’s not typically in your nature. Labeling empty storage bins gives you a feeling of promise and makes the future task of tidying up much easier. Containers can be macro (ex., “Craft Supplies”) or micro (ex., “Construction Paper,” “Scissors,” “Glue,” “Crayons,” etc.) depending on your physical space and level of organizational comfort. Here are some ideas for what types of containers you can create:
- Seasonal clothes
- Archived paperwork (think old tax records, correspondence, kids’ precious artwork)
- Children’s toys
- Gardening tools
- Computer supplies
- Holiday decor
- Sports equipment
- Linens
6. Trash It.
Sometimes it’s easier to throw out (or donate or repurpose) items instead of trying to clean them. Get rid of unwanted items before even beginning the cleaning stage.
Using the three-box method, label your boxes “TRASH,” “DONATIONS,” and “STORAGE.” Make frequent trips to donate (or dump) your items. This will help you see progress quickly and feel a sense of accomplishment daily, motivating you to continue.
If certain things are way beyond redemption, it may not be worth the effort to revive them. For example, if your kitchen towels are hopelessly stained, delegate them to the “Rags” bin and buy fresh replacements. Here are some other household items that may be past their shelf life:
- Doormats
- Bathroom towels and washcloths
- Sponges
- Toilet scrubbers
- Cutting boards
- Shower curtain linens
7. Clean.
You know how to clean, but there are ways to streamline your efforts. One such way is the “top-down” method for each room. Start with the high places and work your way down. This way falling dust and debris will be cleaned in subsequent steps. Here’s an abbreviated sample list of tasks using this approach:
- Ceilings
- Overhead lights
- Chandeliers
- Too tall, unseen horizontal surfaces
- Tops of ceiling fans
- Top of refrigerator
- Door moldings
- Tops of bookshelves
- Walls – top to bottom
- Windows, blinds, curtains
- Upper cabinets
- Counter height surfaces
- Lower cabinets
- oven
- Baseboards
- Floors
8. Deodorize.
Invisible smells can linger, hinting at hidden impurities in an otherwise sparkling room. Rid your rooms of bad odors by determining and then deodorizing the source. (Think drains, refrigerator, trash cans, trash bin cabinets, laundry baskets, etc.)
9. Prepare for Upkeep.
Once you have finished cleaning and organizing each room, take “after” pictures to inspire you to maintain order.Next, think of ways to streamline the day-to-day or weekly upkeep. Here are some ideas:
- Keep most-used cleaning tools in a caddy. Make multiple caddies — one for each room.
- Store shower spray in the shower and use it after every shower.
- Make sure you stay stocked with cleaning supplies.
- Remove your shoes. Every time. Keep a shoe rack near entry doors.
- Keep a donation bin at the ready for all in the household to use.
10. Enlist Support.
If you’re not the only one living in your household, you’re not the only one responsible for cleaning! Figure out how to diplomatically delegate some chores to roommates and/or family members – not just for your thorough spring cleaning, but for maintaining a clean, clutter-free home environment.
If you’re at your wits’ end, feeling overwhelmed and hopeless, it might be time to call in the pros. Do an internet search and get quotes from housekeeping services and professional home organizers. Your sanity is worth the investment!


